Exness is a well-known forex broker that offers a wide range of trading services to both beginner and advanced traders. If you’re looking to sign up for an Exness account, follow this simple step-by-step guide to get started.

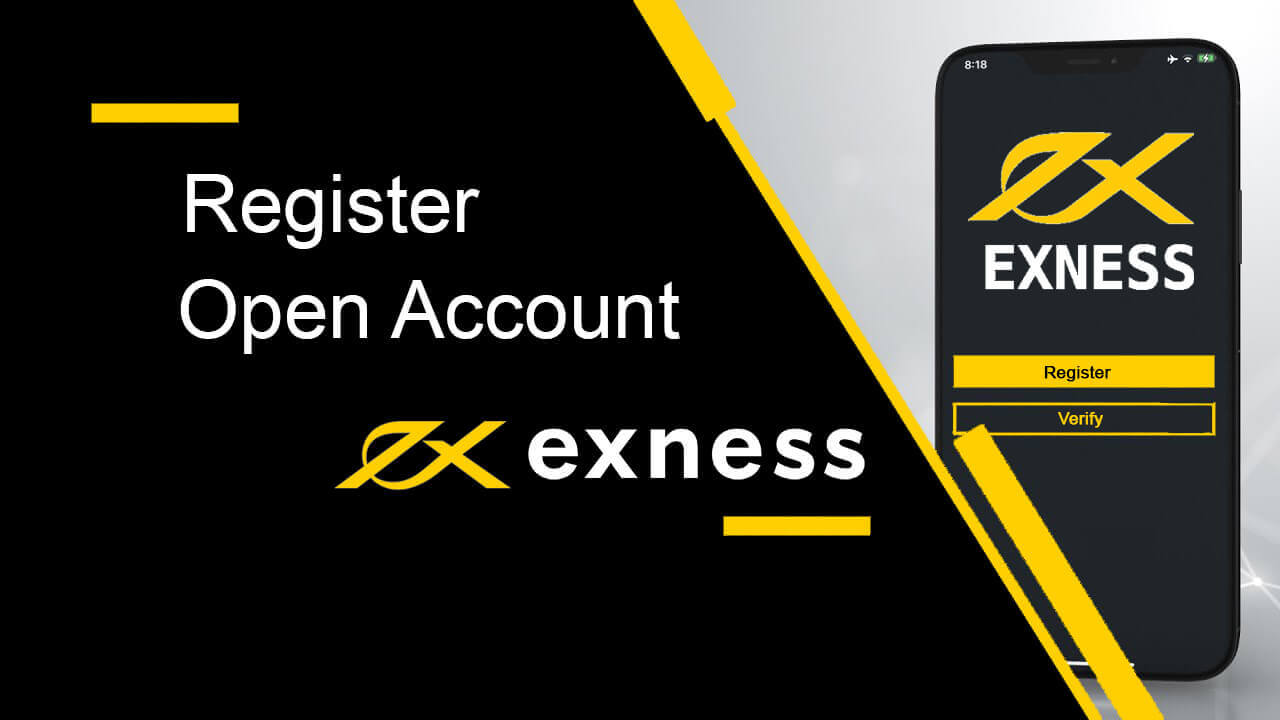
Step 1: Visit the Exness Website
- Go to the official Exness website at www.exness.com.
- Choose your preferred language from the dropdown menu at the top of the page if necessary.
Step 2: Begin the Registration Process
- Click on the “Open Account” button found in the top right corner of the homepage.
- You’ll be redirected to the sign-up page where you’ll need to enter some basic details.
Step 3: Enter Your Personal Information
You’ll need to provide the following details:
- Country of Residence: Select your country from the dropdown.
- Email Address: Enter a valid email address.
- Create a Password: The password must meet security criteria, including at least 8 characters, a mix of uppercase and lowercase letters, and numbers.
After entering these details, click “Continue”.
Step 4: Verify Your Phone Number
- Enter your phone number, and Exness will send you a verification code.
- Input the verification code sent to your phone and click “Continue” to proceed.
Step 5: Complete Your Profile
To complete the registration, Exness will require you to fill in additional details:
- Full Name: Ensure this matches your ID for verification purposes.
- Date of Birth: Accurate date for account setup.
- Residential Address: Your complete residential address.
Step 6: Choose an Account Type
Exness offers multiple account types based on your trading experience:
- Standard Account: Suitable for beginners.
- Professional Accounts: Includes options like Raw Spread, Zero, and Pro for advanced traders.
Select the account that best suits your trading style.
Step 7: Secure Your Account
- Set a Trading Password: This is the password you’ll use to log into your trading platforms.
- Set a 6-digit PIN: This will secure access to your account and important changes.
Step 8: Verify Your Identity
To comply with KYC (Know Your Customer) regulations, you’ll need to verify your identity. You will be required to upload the following documents:
- Proof of Identity (POI): A passport, national ID, or driver’s license.
- Proof of Residence (POR): A utility bill or bank statement that shows your address.
After submitting these documents, it may take some time for Exness to verify your account.
Step 9: Fund Your Account
Once your account is verified, you’re ready to deposit funds:
- Log in to your Exness account dashboard.
- Click on the “Deposit” button and choose your preferred payment method (credit card, e-wallet, or bank transfer).
- Follow the on-screen instructions to complete your deposit.
Step 10: Download the Trading Platform
Exness supports popular trading platforms like MetaTrader 4 (MT4) and MetaTrader 5 (MT5). You can download the platform directly from the Exness dashboard or from their website.
Step 11: Start Trading
After depositing funds, you can now start trading on the forex markets. Use the Exness Trader App or the desktop platform to monitor markets, execute trades, and manage your account.
Conclusion
Signing up for an Exness account is a straightforward process. Follow the steps outlined above, and you’ll be ready to trade in no time. Remember to verify your account, fund it securely, and choose the account type that fits your needs.